Thursday, December 20, 2012

DIY Project: Striped Baby Quilt

I started another quick little baby quilt last night, cut, pieces, and quilted it in one sitting, then finished the binding this morning.


For the top I used the same print as in my 1 Day Baby Quilt, Michael Miller's Wood Horses print, but in pink instead of the coral, and this time paired with 8 different shades of solid pink cotton.


I used half a yard of the Wood Horses print (same amount as last time), and a fat quarter of each of the other colors. I used 2 yard of a solid gray cotton for the backing. I made the binding from left over pink strips from the quilt top, and thus using up all 8 fat quarters. 


This time I did have enough backing material left to do a double layer binding, first folding the gray backing over the raw edge, and then adding my homemade double binding on top.


Although I mainly make it this way for added durability, I really love the look of the gray peeking out under the top layer, pink binding.


For batting I used a low loft organic bamboo batting, which makes for very thin, light, fluffy quilts. It came out of the dryer all crinkly soft, and I hope that my friend, Kristina, and her little baby girl, will get a lot of use out of it.


Fabrics:

Quilt top:
Michael Miller 'Wooden Horses' in pink and gray
8 fat quarters of Robert Kaufmann Kona Cotton, in 8 different shades of solid pink

Backing:
2 yards solid gray Kona Cotton

Binding:
Robert Kaufman Kona Cotton, in 8 different shades of solid pink

Wednesday, December 19, 2012

DIY Project in Action: 1 Day Baby Quilt

I made this 1 Day Baby quilt for my friend Annika's baby girl back in October, and on a recent visit to Sweden, as I walked into Annika's house, I spotted the quilt laying on the floor witch a bunch of toys scattered around it.


Annika told me how Melia plays on that quilt every single day. (Their cat also loves it, as you can see above.) It made me really happy to see that this gift that I spent my time making just for her, is actually being used, and it's part of their lives. And years from now, when my friend thinks back on this baby time, or looks at their baby photos, this little quilt is going to be there in the background.

This is one of my favorite reasons for gifting my little quilts. 

Tuesday, December 18, 2012

DIY Project: Stamped Holiday Cards

This project was purely an accident; I had no plans of making my own holiday cards this year. However, between traveling and catching a nasty flue, I forgot to order our cards. By the time I remembered (last night before bed), it was much to late to order with any hope of receiving them before Christmas, not to mention mailing them out in time.

Initially, I thought I might be able to use some left over cards from a few years ago, but when I went to dig them out, there were only 10 or so left. What to do?

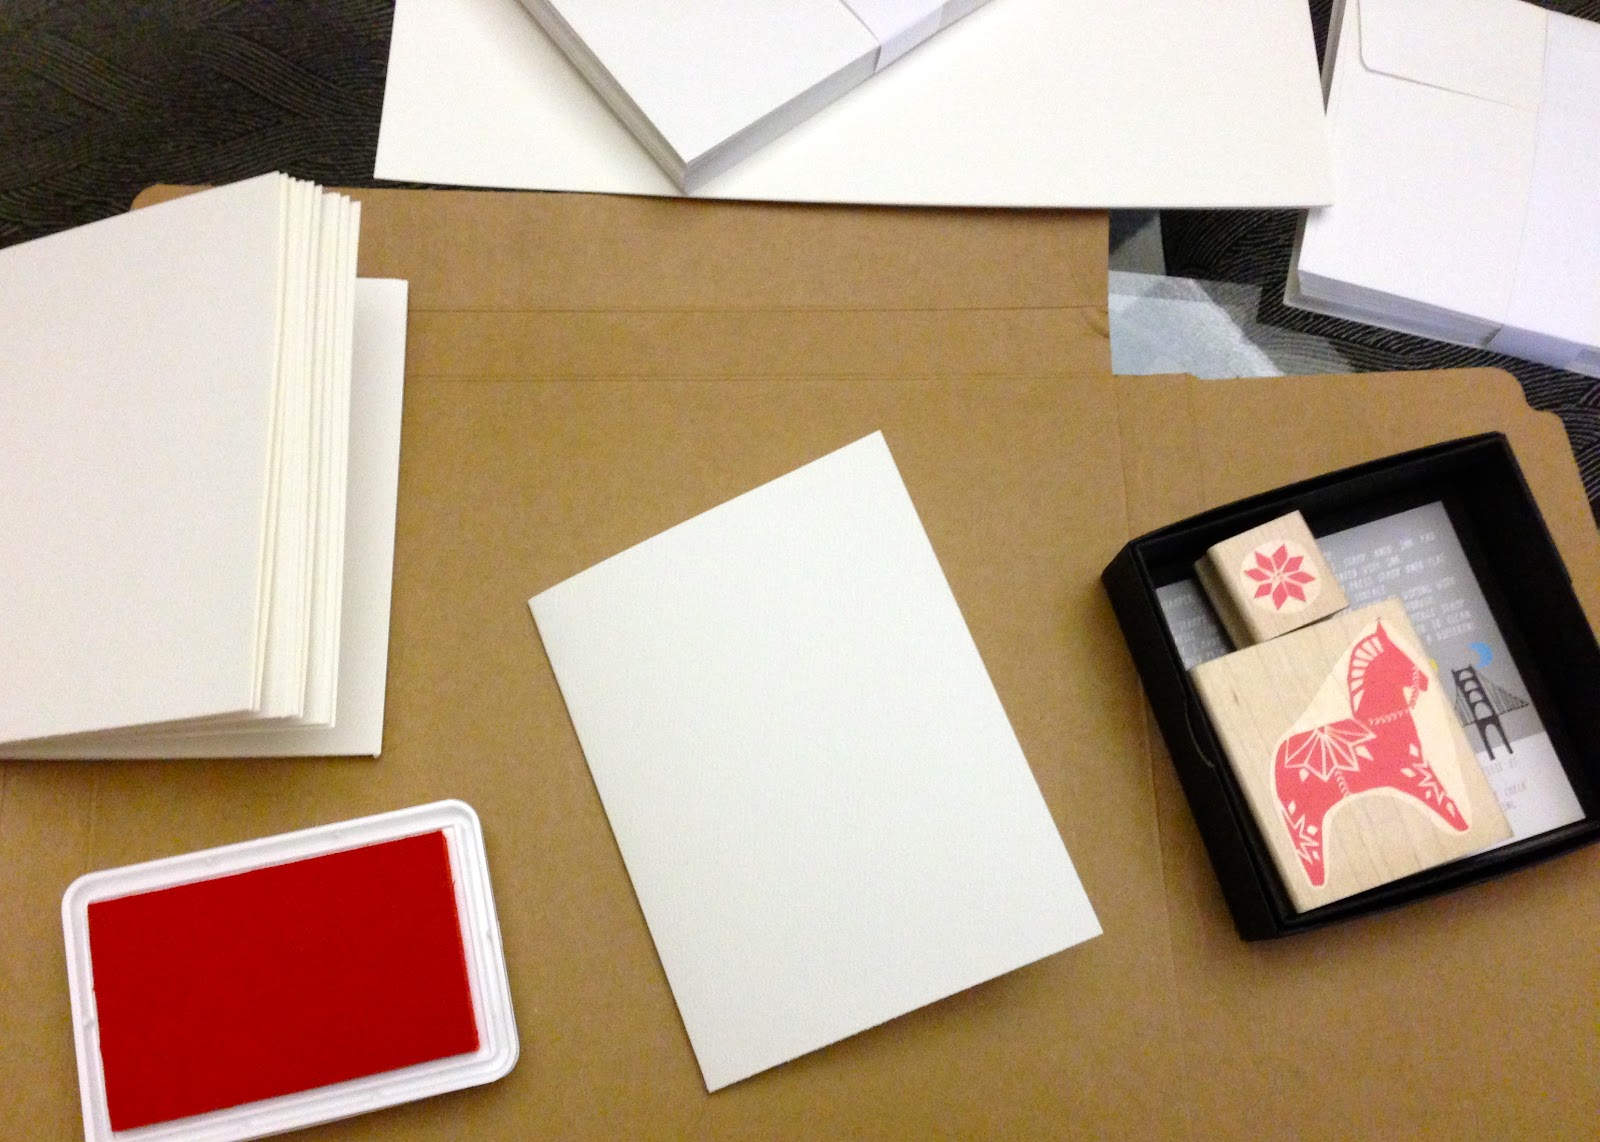
I literary woke up in the wee hours this morning, with the idea of using a stamp I stumbled upon online a while back. At the time, I thought it was so funny to find a Swedish dalahorse style stamp here in the US, so I bought it without any real plan of what to use it for, then put it away in my stationary drawer, and forgot all about it. Until 2 am this morning.


I got up right away, and spent the early morning stamping cards. I snapped a few pics during the process, but just with my phone, so they aren't the best, but I figured I'd share them anyways. 


I'm so happy that I had all the supplies at home already, so I could start right away, but I would have preferred better card stock. (Note to self: stock up on better card stock.) I just so happened to recently have ordered a brand new set of stamp ink pads, in an array of colors, and I chose to go with a classic red for the cards.


The horse stamp also came with an extra little flower stamp, so I used that as well to decorate the cards, and the envelopes.


Initially I had planned on writing a holiday greeting on the outside of the card, but I scrapped that idea as it didn't look that great. I wish I had an alphabet stamp set, and I would have used that. Instead I wrote the greeting on the inside. 


When the cards were all done, I figured I might as well finish them for shipping. A few hours later, all our holiday cards are made, signed, addressed, and ready to be be dropped in the mail box today!

Wednesday, December 5, 2012

DIY Project: Felt Christmas Tree with Ornaments

I got this idea from Pinterest (of course) months and months ago, and while there are countless versions of this project out there, I really like this tutorial from the blog Johnny In A Dress.

As soon as I first saw this, I thought of a certain little Swedish girl, who I knew would LOVE something like this for the holiday season. But the holidays were still very far away at the time, so I filed it away for later in the year.


I finally made this project this week, and the whole thing took about 30 minutes from start to finish! All you need is about 1 yard of green felt, plus some colored felt for decorations, a scissor, and hot glue.


Unlike the original tutorial, I used a mix of plain and patterned felt, instead of decorating the ornaments myself. I also hot-glued a star to the top of the tree.


I added a couple of gift tags to some of the gifts under the tree, one with the gift-recipient's name, and one with "God Jul", which is Swedish for Merry Christmas.


I also added one gift with an unsealed top edge, to use as a pocket for the ornaments when not in use.


I attached the tree using wide, double-sided tape, and it worked brilliantly.


I hope this little felt tree will give a certainly little girl, who according to her mom "likes to re-decorate the tree every single day", a lot of joy this holiday season.

Monday, December 3, 2012

DIY Project: Candy Cane Centerpiece

I made these Candy Cane Centerpieces for the first time last year, after finding a tutorial on Pinterest, and I knew right away that this was a project I would repeat many times over. However, this year when I went back to my old pin to refresh my memory, the link seems to be broken, and the tutorial missing. I had planned to link to it, with photos of my finished project, but instead I'm posting my method as I remember it. I don't know how closely it matches the original tutorial, as I haven't' read it in a year (should be fairly close though, as this is a really easy project), but this worked perfectly for me today, and the end result looks fairly similar to the original picture that was my inspiration. If you do happen to find the original tutorial, please let me know so that I can link and credit the original source. 


DIY Project: Candy Cane Centerpieces

These are perfect for a holiday party, a quick hostess gift, or as part of your holiday decor. Besides roses, I also filled a few of them with candles, and both looked fabulous (photos to come).

What you'll need:
1 clean glass container
1 rubberband or elastic that fits tight around the glass container
candy canes (number depends on size of glass container)
ribbon (length depends on size of glass container)
red roses and greenery OR large candle or luminary

What to do:
1. Fit elastic around the glass container.
2. Add candy canes between the elastic and the glass, making sure the elastic is tight enough to hold the candy canes in place. Continue to add candy canes until they cover the entire circumference of the glass container.
3. Straighten candy canes, and tie ribbon around candy canes, on top of the elastic, hiding it.
4. Your base is now finished. Trim roses to the correct length, making sure flowers form a slight dome shape, and arrange together with greenery in the glass container. Add water. Alternatively, add a candle instead.
5. Done!


Sunday, December 2, 2012

DIY Project: Quick and easy Cheesy Christmas Ornament Earrings

I saw these earrings this morning at Target, and thought they would be perfect for a cheesy holiday get-together with some fabulous, holiday-loving girlfriends. I also realized I already had all the necessary supplies to make my own version at home.


This is what I came up with.


I made a bunch of them, in different shades of red & silver, and I cannot wait to wear these cheesy things to various holiday-related shenanigans! Now I just need a hideous reindeer sweater & decide if I'm mixing or matching the ornaments!

This project is so simple that it barely even needs a tutorial. Still, here are the very simple instructions to make your own Cheesy Christmas Ornament Earrings. Making time is approximately 2 seconds. No kidding.

DIY Cheesy Christmas Ornament Earrings

To make one pair of Cheesy Christmas Ornament Earrings.

What you need:
2 French wire earring hooks
2 mini ornaments, glass or plastic
2 jump rings


What to do:
1. Open jump ring just enough to slip on 1 Sterling silver French wire earring hook, and one mini ornament.


2. Close jump ring.
3. Repeat once again, to make a pair.
4. Done!

Price Comparison:

Original inspiration:
Happy Holidays Ornament Earrings, Target, $7.99 per pair

DIY Retail Knockoff:
$1 per pair