Showing posts with label My Favorite Things. Show all posts

Monday, April 1, 2013

DIY Project: Friendiversary Quilt

Meet Jo, the lovely lady who has been by my sidekick for most of my life. This year, Jo & I are celebrating 23 years of friendship! Twenty three years of travels and jokes, hugs, tears, and a multitude of hilarious shenanigans.

Jo & I, from my Instagram

Nowadays, we live half a world apart, we have for the past decade, but she's still my bestie. To celebrate our anniversary, I made her this Friendiversary quilt:

Queen size improve style Friendiversary quilt


This is the first Improv Style quilt that I've ever attempted, and I'll definitely make more quilts in this style! I really loved the improv process, especially the fact that the creative part of the quilting process continues throughout, as opposed to a more traditional style quilt, where you pick a pattern and which prints to use at the beginning, and then follow through. This time I continued to design the quilt, block by block, from start to finish. As the design process is my favorite part (besides pulling the finished quilt out of the dryer, all washed, warm and crinkly), stretching it throughout the piecing and sewing really suited me better. I also really love the resulting look of this quilt.


In fact, this is my favorite quilt I've ever made! Truly, if it was intended for anyone other than Jo, I would not actually give it away. I am currently in the process of making another quilt using the same prints, similar but not identical to this one, to make a matching Friendiversary quilt set.

The above Instagram pic, from a trip to Sweden in August of last year, turned into this photo fabric print:


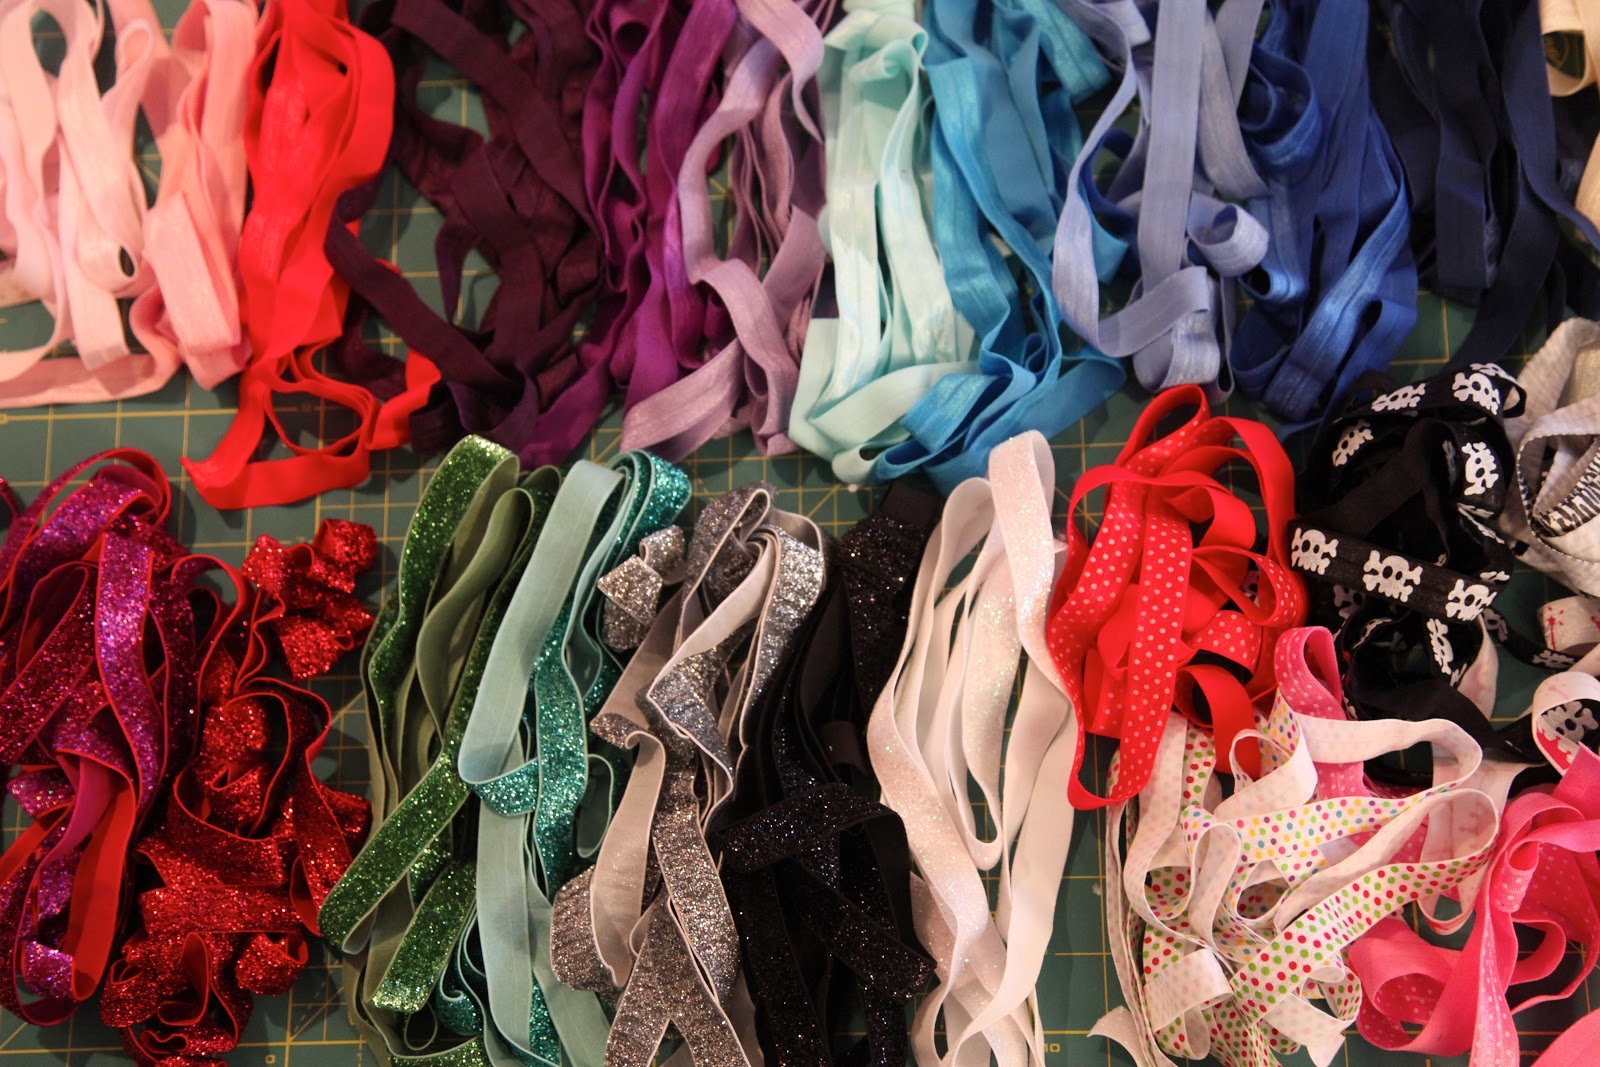
I hand picked and printed almost all the fabric used in the quilt top using Spoonflower, and its many talented print designers. I also custom made two text prints and one photo panel of my own. I ended up adding a few prints from my scraps stash as well, and the combination of fabrics turned out absolutely perfect!


I quilted each print with a different quilting pattern throughout the quilt, and while I did end up having one or two favorites, I really, REALLY love the variety of textures created by the mix most of all.


The white blocks, with the tight straight lines of quilting were my favorite. The texture of this tight quilting is absolutely amazing. On some of the prints, I quilted according to the print design. A few blocks had very minimal quilting, and other had none besides the perimeter.


For the backing, I used IKEA's Britten Nummer print, with a few scraps from the quilt top mixed in. I had not planned on piecing the backing, other than joining two lengths of yardage to cover the entire back. However, when I got home from IKEA I realized they had falsely sold me 10 yard of  "continuous yardage", with several HUGE and extremely UGLY seams running straight through, leaving me no pieces large enough, so I had to rethink my plan. Eventually, I ended up adding a few bits and pieces, and I am happy with the result. While I didn't get a great photo of the completed backing, you can get an idea of what it looks like here;


I made the binding using left over BRITTEN NUMMER print, and after covering the raw edge with overhang from the backing, I added it on top.


The one downside I found with this improv style quilting, is that it was a lot more time consuming than traditional quilting. Of course, I added extra work time the sheer size of this quilt, and by quilting each block differently, but even without that, this quilt took the longest to complete compared to all of my previous work of comparable size. Just cutting and arranging the quilt top took 4 days, assembly took 2, and quilting took a full week. Binding was about the same as a traditional quilt of the same size, but then I had to cut threads, front and back, for a few days. Lastly, I added one of my labels, and after 2.5 weeks of 10 hours/day at my sewing machine, this gorgeous quilt was finally completed!


Fabric Used:

Quilt top, organized by source:


Spoonflower, $18/yard:
watercolor mustache in aqua, by Katarina
Arrows & feathers, by Katarina
arrows by, katarina
watercolor dots purple, by katarina
arrows pink, by katarina
arrows_in_black_and_white_pattern, by katarina
long tiny striped feathers, by katarina
doilies on linen, by katarina
watercolor chevron aqua white, by katarina
love letter, by katarina
crazy dots gray, by katarina
chevron_arrows, by katarina
Letters, by Ankepanke
hearts and dots in a wavy stripe, by tb0969
I LOVE YOUR TYPE, by bzbdesigner
small_type-2, by bxbdesigner
Say What? (Quirky idioms typed text), by happysewlucky
Madame Fancypantaloons' Instant LIbrary Bindings ~ Blue, by peacoquettedesigns
Fancy Lattice Pink with White Outline, by karmie
Woodtype Alphabet (chalk), by penny candy

Other, approx. $10/yard:
white solid cotton
offwhite solid cotton
Michael Miller Cotton Couture, various solids
various prints from my scrap bin

Backing:
Britten Nummer print, IKEA, $4.99/yard
various leftovers from quilt top

Binding:
Britten Nummer print, IKEA, $4.99/yard

Tuesday, January 1, 2013

DIY Project: Ribbon Hair Ties (Retail Knockoff)

Have you seen these awesome ribbon style hair ties? I love them, as they do not leave a "pony tail dent" in my extremely straight hair, even if I wear them all day. They usually retail for a ridiculous $1-$3 a pop (!!!), and I've been meaning to make my own for quite some time. I finally pulled the trigger, and when I calculated the cost of making these, and compared it to the retail versions, I'm glad I didn't wait another day.

I ordered plain elastic online here, and printed and glitter versions here, for next to nothing compared to the  retail prices! I was honestly appalled when I found this stuff for $1.35 for FIVE yards, and you can make 3-4 hair ties per yard. It seems a lot of people must be rolling in their crazy hair-tie profits!


DIY Project: Ribbon Hair Ties

Make plain sets, tie them off in a knot or bow, ends going in the same direction, or not. It all looks different on the pony tail (& on the wrist), so experiment to find which style you like best. Pretty coordinated sets makes for a cute little gift, or party favor.

What you'll need:
Fold Over Elastic, (FOE)

ruler or measuring tape
very sharp scissors

Ok, so maybe I went a little bit overboard when ordering supplies... I was exited.

What to do:

1. Measure between 8"-10" piece of FOE, depending on hair thickness and personal preference. I use a 10" for my hair ties, and it makes for the perfect tie for my hair (& my wrist).
2. Cut elastic, fold with pretty side out, and tie a knot or bow. Experiment with the type of knot, to find the look you like best. Clean up FOE edges (if needed).
3. Voila! Your hair tie is finished!

I made my hair ties in bulk, moving the entire batch through each step before moving on to the next. 
For example, I cut all my 10" FOB first, tied all of them, and then trimmed all the edges after that. Still, it was quite fast!

Retail:
Emi-Jay (the original): different collections of 5, ranging from $10.99 - $12.99
DIY:
DIY Ribbon Hair Ties, $1.35 for 20
DIY Printed Ribbon Hair Ties, $0.90 for 4
DIY Glitter Ribbon Hair Ties, $1.20 for 4 


Can you tell which hair ties are my DIY version and which ones are Emi-Jay brand?

DIY vs Retail. Can you tell the difference?

Crazy, right? I mean, that's really CRAZY!!! So, do yourself a favor and DIY some of these. It takes about a minute, and both your hair & your wallet will thank you.

Coordinated hair tie sets, ready for gifting

After having completed 42 DIY projects in 2012 (not counting redoes, multi-post reveals, food, etc.), and I'm looking forward to increasing that number in 2013. My goal is to complete 52 projects, averaged over the next 52 weeks. Given travel etc., that sounds challenging, yet achievable. This quiet, low key project was the perfect activity for a lazy day recovering from bringing in the New Year.

Monday, December 31, 2012

DIY Project: Elephants & Dots Baby Quilt

In early 2012, I decided to finally tackle something that had been on my Bucket List for years, and throughout this past year, using pure improvisation and stubbornness, I've slowly taught myself to make quilts. It seems fitting that I finished one of my favorite quilts I've made so far, on the last day of this year.


I started with this absolutely adorable, organic fabric line from Birch Fabrics, in a coordinating mix of gray, white, teal and soft aqua.


I really love the mix of colors and prints in this line! It's so gorgeous! 


After waffling back and forth for a couple of days over the quilt top design, I eventually decided to go with a simple wide stripe design, very similar to my last quilt, in a reverse ascending/descending pattern. I started this cute little quilt last night, cut, pieced, and quilted it, and then made and finished the binding this morning. 


I used the gray solid from the quilt top for the backing, adding a simple initial in the bottom, right corner for a little pop of color and personalization (this quilt is another gift). 


This time, instead of regular appliqué for the personalization, I opted to sew the H from two layers of solid teal, right sides in, then turning it right side out, pressing, and attaching it with a simple top stitch around the edge, before I added the quilting. I do hope it will be durable enough this way, as I really like this look. 


For the binding, I first folded the overhanging backing fabric over the edge, then added a homemade double binding on top of that. I made the binding using left over aqua solid from the quilt top.


I love the thin edge of gray peeking out from under the aqua binding! In fact, I absolutely LOVE this little quilt! It's been so fun figuring out how to do this this past year, and I love seeing improvements in my technique with each completed project.


I really hope cute little H gets a lot of use out of this cuddly little quilt!

*All photos are taken pre-wash, and the quilt is a lot more crinkly and puffy post-wash, but I forgot to retake them after it came out of the dryer, and now I've already packed it to ship.

Fabric:

Quilt top:
Jay-Cyn Designs for Birch Fabric Organic, Mod Basics, Ellie Fam in Shroom, Teal and Pool
Jay-Cyn Designs for Birch Fabric Organic, Mod Solids in Teal, Pool, Shroom, and White

Quilt back:
Yay-Cyn Designs for Birch Fabric Organic, Mod Solids in Shroom and Teal

Binding:
Jay-Cyn Designs for Birch Fabric Organic, Mod Solids in Pool

Saturday, December 29, 2012

DIY Project: Floral Sunglasses

I almost died when I first saw this tutorial from Honestly... WTF, it was Love At First Sight. I knew I had to make a pair. Or twenty.

Here is what I came up with:


I used a cheap pair of Sunreaders (I never even knew these existed before my eyes got old and crappy), e6000 glue, and some resin flowers ordered from Etsy to make my shades. They took about 10-15 minutes to make, and only that because I had to wait for the glue to get tacky enough to hold the flowers to the frames while it dried completely. 


My favorite type of DIY: quick, easy and oh, so fabulous!


Now all I want to do is drive down HWY 1 with the top down, blasting Lana Del Ray (and singling along at the top of my lungs), while shielding my eyes from the sun with these fabulous shades!

Sunday, July 29, 2012

DIY Project: Multi-pocket Zipper Pouch

I made these multi-pocket zipper pouches this weekend, because this girl cannot have to many zipper pouches, nor can a zipper pouch have too many pockets. Duh. Everyone knows that.


I used a modified version of my waterproof bikini bag tutorial to make the zipper pouches, closed the zippers the same way I figured out while making the circle earbud pouches , and improvised the process of adding the lining pocket as I went along. As always when cluelessly crafting, at times it was pretty frustrating. For example, when I had finally, FINALLY completed my 1st lining pocket, only to realize I had forgotten to seal its lining, leaving me with a zipped opening to the unfinished guts of the bag. After several tries, multiple seam ripping sessions, and one or two f-bombs, I finally got it right.

I used two different linings in each bag; purple polka dots for the outside pocket and the main lining of the pouch; solid purple for the lining of the inner pocket, and I love the overall look of the contrasting fabrics. For the smaller, matching pouches, I flipped the chevron direction, as well as the lining fabrics.

The larger pouch is 7 by 5 inches, the smaller is 5 by 3 inches. Both have one main compartment, and two zipper pockets each, one on the outside, and one in the main lining. Both have a loop to attach a split ring.

The smallest zipper pouch has polka dots in the inner lining pocket, and purple solid inside the pouch and lining the outer pocket.  The larger pouch has the reverse.

I'm actually really happy with these little pouches, and they will be perfect to keep my purse, and all its little tidbits, perfectly organized. 

Tuesday, July 17, 2012

DIY Project: Waterproof Bikini Bag Tutorial

I first saw these Bikini Bags at a department store ages ago (find some here). I loved the idea, and through it was perfect for a DIY. This past weekend I decided to finally give it a try. The end result? These small-but-fabulous, waterproof, wristlet-style Bikini Bags. I love, love, LOVE them! They are the perfect solution to the classic summertime wet-bikini-in-your-beach-bag problem. You see, these little zipper pouches are lined with oil cloth, to keep the wet stuff away from the not-so-wet-stuff. So no more waterlogged paperbacks/e-reader in my beach bag!


What's even better? This project is super easy!

DIY Project: Waterproof Bikini Bag

What You'll Need:
2 10x8 inch pieces of exterior fabric (interfaced)
2 10x8 inch pieces of waterproof/water resistant lining fabric - I used oil cloth
1 3x22 inch piece of exterior fabric for ring loop and wristlet strap
1 ring loop
1 strap clasp
1 10 inch zipper

iron-on letters or DIY appliqué letters (optional)

Direction:
1. If you want to add any lettering, do that before you start constructing the bag. Same thing if you're adding a label.

2. Start with your exterior fabric, right side up, and place your zipper on top, teeth side down, lining up the edge. Lay one piece of lining fabric (oil cloth) on top, right side down. Pin if you want to. Using your zipper foot, sew seam with a 1/4" seam allowance. Turn over and stitch over where exterior material meets zipper, right by the edge.

Exterior fabric facing up, zipper teeth facing down, and lining facing down

3. Lay your remaining exterior fabric right side up, and place your zipper, teeth side down. Add remaining lining oil cloth, right side down, on top of the zipper. Sew. Turn over and stitch over where exterior material meets zipper, right by the edge.

 Exterior fabric facing up, zipper teeth facing down, lining facing up

Now you will have 2 pieces of fabric, exterior plus lining, attached to each side of your zipper 

4. To make the strap, fold the long strip of exterior fabric, right sides together, and sew with a 1/4" seam allowance. Turn right side out, and press strap, with the seam in the middle. Sew the entire strap again and again, at a 1/4" seam allowance.

You will end up with one long strap, just like this one

5. Cut off a 3 inch piece of the strap, this is your ring tab.  If you're using a ring that does not open, tuck it into the tab now. Close with a seam to secure ring.

Ring loop

6. Open the zipper halfway (!!!), and fold rights sides together. Tuck ring tab between the exterior pieces of fabric, with the tab's raw edge pointing out.

Make sure the tab is oriented with the raw edge pointing out

7. Sew around the entire perimeter, leaving a gap in the lining for turning the bag. Miter the corners, on both on the exterior fabric and the lining. Cut of excess corner fabric, turn right side out, and push out  the corners.

Inside out - here you can see the raw edge of the ring tab poking out

8. Close the gap you left in the lining, and tuck lining pouch into exterior pouch.

Your zipper pouch is completed, and should look a little something like this

9. To make the strap, fold one end of the strap around the ring in your ring loop, making sure to tuck in the raw edge. Stitch a box onto on top of fold, several times, until it is secured.

With the strap attached

10. Here you can finish the bag off either with a simple wristlet loop, or you can add a clasp, like I did. Measure out how long you want your strap, adding an inch for the fold, and cut.


Measure what strap drop length you would like, 4-5 inches is typical. 

11. Attach the clasp, at the remaining end of your strap, the same way you attached the strap to the loop ring above. If you're not using a clasp, attach the end of the strap at the same place as you attached the first end, using the same method.

I wanted to be able to secure the wristlet strap around the strap in my beach bag, so I added the clasp.

12. Bikini Bag is done!!!! Enjoy coming home from the beach with your WET bikini and a DRY bag, a DRY book, and a DRY phone, forever (or, you know, every time you actually remember to bring this thing...).

Completed Bikini Bags

I made a bunch of these at the same time, in a few different sizes. Some small for a single bikini, some large to fit multiple bikinis, a swimsuit, or rashguard. The big one is 12x10 inches, the smaller one is 8x9 inches. Adjust size of the pouch to your liking.

Bikini bag can hold more than bikinis...

Bikini bag in action, wet bikini inside - I did try my bag already, and I'm happy to report that it worked perfectly!

After having had this idea for ages, and I'm glad I finally pulled the trigger. The bags are quick and easy to make, especially if you make a few of them at a time, like I did.  I can already think of a gazillion different occasions to use these, from the beach, the pool, to vacay. Of course, they also make a nice gift, that can be personalized as well (bridesmaids' gift at destination wedding, anyone?).


The bag made in this tutorial is the actually 3rd version of this bag. It's not very different from the first one I made, but since the starting point was pure improvisation, with each one I find some place to improve the design. Let me know if you give these a try, especially what changes/improvements you would make. I'd love to see what you come up with!

Tuesday, July 10, 2012

DIY Project: Tradewinds Quilt

Update: I added a double binding on this quilt. See the updated project here!

I'm sure nobody missed how much I loved the backing fabric on my last big quilt.

Tradewinds South Pacific Empress Yardage Lily Ashbury for Moda Fabrics

The rich colors, the exotic, vintage travel inspired print... all of it was perfect. In fact, I loved it so much, that I decided to make another quilt using this, and the other prints in the same series.

My 5th quilt - big thanks to the husband for playing quilt hanger.

This time I tried to not put a single print into the quilt that I didn't love on its own. I also wanted to try charms packs, so I decided to go with a simple square patchwork for the quilt top, and placed an order for a few charms packs containing the entire Tradewinds line. In each pack I got 42 ready-cut 5x5 inch squares, and I kept that size in the quilt. I mixed in some jewel tone solids, and as I had some of the backing fabric left over from the last quilt, I threw that in as well.

By the time I realized that I didn't really like the look of just the squares, I was pretty far into piecing the quilt top. I split a few seams and added the white stripes on a whim, and I'm glad I did, because I like it so much more this way. In fact, I LOVE it!

I was going to lay the quilt out on my lawn to take pics, but the though of all the neighborhood dogs constantly warring to be the last canine to mark my front yard kind of killed that idea. So, awkward tree branch it is. Rest assured, I will not actually be using the quilt in a tree.

This time, the process was not even close to as much of a PITA as the first time I made a quilt this size on my little sewing machine. The square patchwork invited a much simpler quilting pattern, which saved me loads of blood, sweat and tears. I went with a double grid, with gaps for the white lines, which was really easy. I was stoked it allowed for me to roll the quilt while working. It made getting this much fabric through my small machine infinitely easier. I also used lighter batting, which helped a lot as well. I really like the feel of the lighter batting, so I'll definitely be using a similar batting again.

The backside looks really similar to the last quilt, but sadly without the gorgeous diamond lattice quilt pattern!

Just as my last non-baby quilt, this one is queen-size. While the smaller blocks took longer to piece, I saved so much time on the quilting, the whole thing was faster. When it came to the binding, I decided to try an idea I had the other night. Instead of cutting all 3 layers to the same dimensions, I left an extra 1.5" on the backing fabric, and an extra .5" on the batting, compared to the quilt top.  Then to close the raw edge, I just rolled the backing fabric over the batting, and top stitched it to the frontside of the quilt. I did this for durability, and I'm planning on adding a bias-cut tape binding on top of this fake binding, having the bottom layer peek below the top one, but I haven't gotten to it yet. I'll update the post as soon as that's done.

 I'm still loving my new project labels!

Even though this technique involved binding the quilt twice, I will definitely use it again. The first binding, using the backing fabric, was super easy, and it made applying the top binding much easier as well. Hopefully the bottom layer will improve the durability of the top binding. And even if it does not, I would still do it this way again, because I absolutely LOVE the way it looks!

Now that both these quilts are done, I feel like I've made two sister quilts;  similar enough to be family, but each one unique enough to be beautiful in its own right.

Top: Busy Diamonds Quilt
Bottom: Tradewinds Quilt

Fabric:

Quilt top:
Tradewinds Empress Yardage, in South Pacific, Malabar Green, Tea Rose

Tradewinds Palace Garden Yardage, in Vanilla, Macaw Blue, Persian Rose, South Pacific, Malabar Green

Tradewinds Jaipur Yardage, in Tonal Macaw Blue, South Pacific, Tea Rose, Lemon Grass, Macaw Blue

Tradewinds Cambay Yardage, in South Pacific, Persian Rose, Malabar Green, Moroccan Red

Tradewinds Star Flower Yardage, in Macaw Blue, South Pacific, Malabar Green

Tradewinds Ornament Yardage, in Macaw Blue, South Pacific, Persian Rose, Malabar Green, Tea Rose

Tradewinds Kimmei Yardage, in South Pacific, Persian Rose, Tea Rose, Macaw Blue, Malabar Green

1 fat quarter Cotton Couture by Robert Kaufmann, Jewel tones

1 yard Cotton Couture by Robert Kaufmann, white

Backing:
8 yards x Tradewinds South Pacific Empress Yardage Lily Ashbury for Moda Fabrics

Binding:

bottom binding: from backing fabric
top binding: bias-cut binding strip