Showing posts with label ProjectYearbook2013. Show all posts

Thursday, October 31, 2013

DIY Project: Star Wars Quilt

I made this awesome Star Wars Quilt for my husband, and I'm glad we live together, as it would be very hard for me to part with this one. I've been working on it for months! I really wanted it to be a surprise, so I could only take it out of hiding, and work on it, on the rare occasion when my husband was out of town without me. During his latest business trip this week, I finally had a chance to to finish it.

Star Wars quilt, via my Instagram

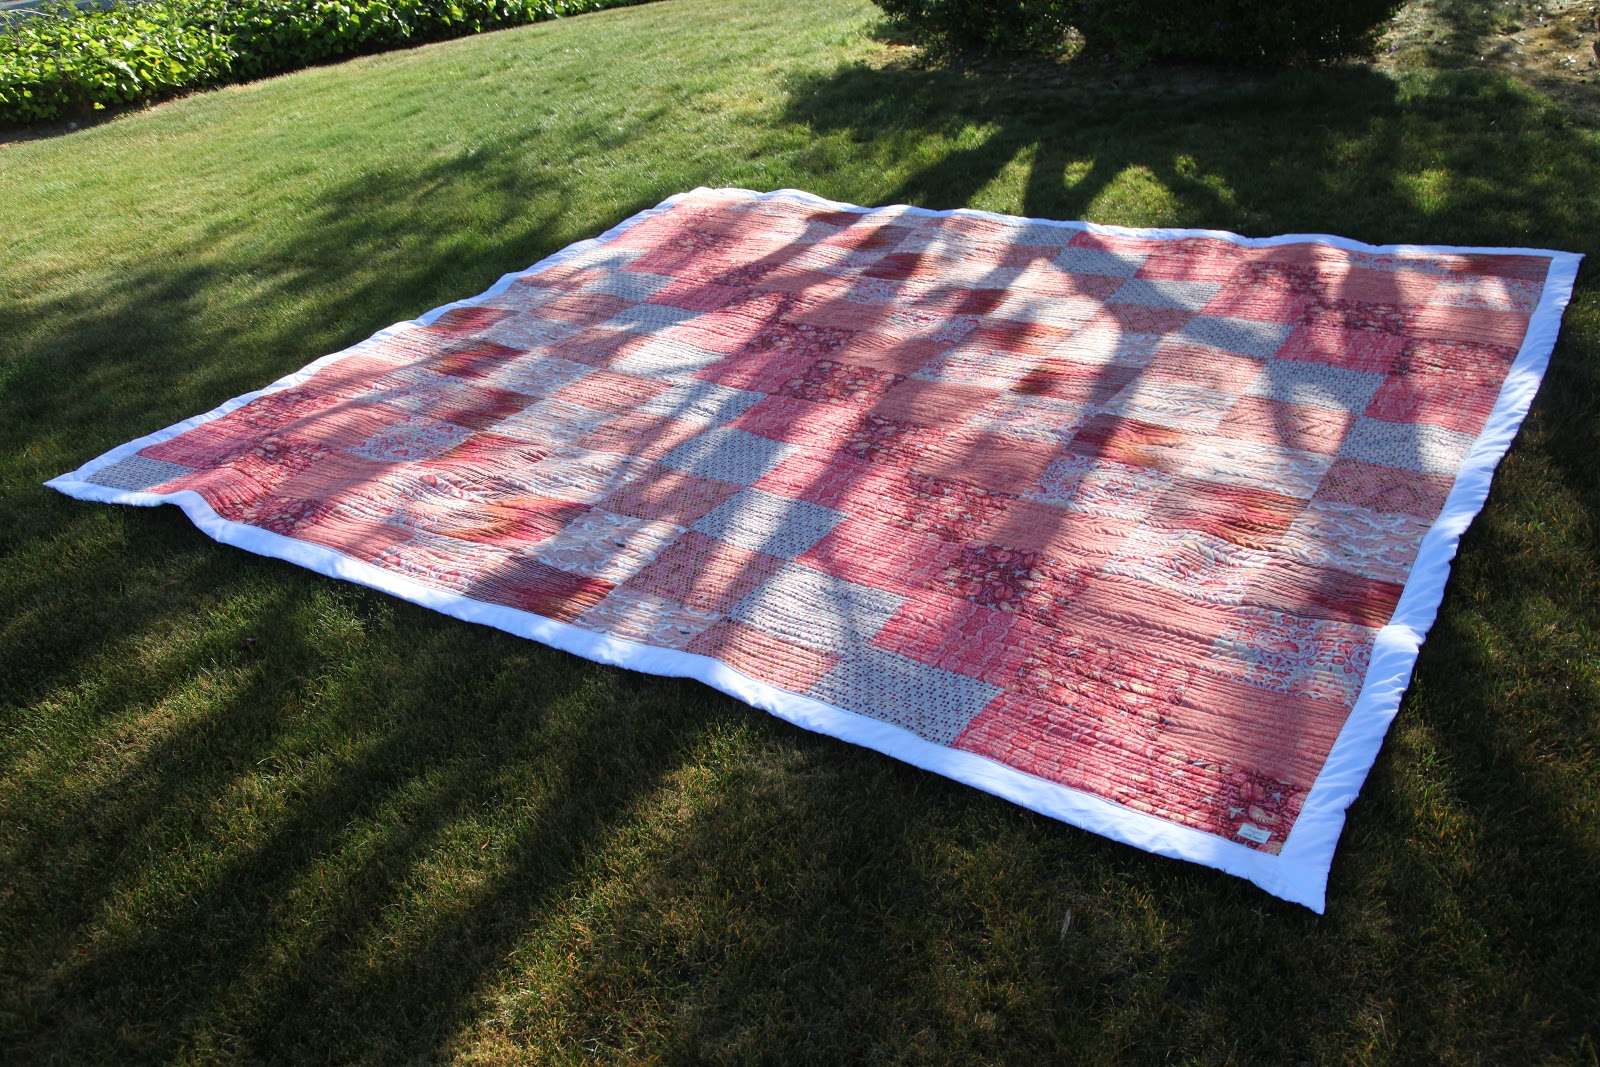
For this ultimate fanboy quilt, I wanted all Star Wars prints. I was really surprised how limited the options were, however.  While I didn't pick these colors, I just grabbed whatever was available, I'm quite happy with the black, white, & primary color scheme regardless. I wanted a simple, straight forward quilt top, to show off the rad Star Wars prints.  To break it up a little, I mixed in a few character squares that I pieced separately with a random white solid border. The only bummers were that I couldn't for the life of me find a single Leia print, or one with R2D2 in a coordinating style.

Star Wars quilt top.

Closer up, you can really see each of the bright prints.

I didn't think of it at the time, but now I wish I would have fussy cut the red Spy Glass print, 
to get all the different characters in there, but oh, well. 

For the backing, I used one of the prints I used in the quilt top, Spy Glass, but in white instead of red, and I really like how that came together. The contrast of all the color on the top, and the black and white on the back, turned out really nice.

King-size Star Wars quilt, backing 

I handmade the binding using a black and yellow Star Wars logo print, piecing it so the words would wrap continuously all around the quilt, and I really love how it came out, both on the front and the back.

The back view of the binding. Front side has the colors inverted. 

For the batting, I had initially planned to use my favorite low loft bamboo batting, that is very light, airy, and really easy to work with, but the resulting quilts are definitely on the thin side. After I made this quilt, using double bamboo batting, my husband mentioned how much he liked it, so I undid the partial quilting I had already completed, and re-sandwiched the blanket with double the batting.  Given the size of this quilt, in addition to the double batting, I was really pushing the limits of my little sewing machine. There were several points where I wasn't sure I could get the quilt through, and I'm ridiculously exhausted in my back and shoulders after wrangling this thing though my machine for the past 3 days.

Close up of the different quilting patterns. Here you can also see the alternate colors of the top-side binding. 

For the quilting, I started with a simple stitch in the ditch square pattern, and then went over it again, quilting each different print in the quilt top with a different quilting pattern. To make the character blocks really pop with all that color, I quilted the white borders with a very tight straight line quilting, leaving the actual character unquilted in the middle, and they came out very puffy. I've made quilts using this variable, block-by-block quilting pattern several times before, here and here, and each time my husband mentioned how he really liked the differences in textures this method creates throughout the quilt. I love it as well, but I use it sparingly, as it is EXTREMELY time consuming. This was definitely a project where the extra work was worth it, and I love, love, LOVE how it came out.


All in all, I'm quite happy with this quilt. I'm giving it to my husband when he comes home from his trip tonight, and I really hope he loves it!

Fabric:

Quilt top:
Star Wars Fabric, Starring
Star Wars Fabric, Shield Green
Star Wars Fabric, Planetary Green
Star Wars Fabric, Cameo (1 yard panel)
Star Wars Fabric, Planetary Blue
Star Wars Fabric, Shield Blue
Star Wars Fabric, Light Sabers Multi
Star Wars Fabric Shield Red
Star Wars Fabric, Spy Glass Red
white cotton solid

Backing:
Star Wars Fabric, Spy Glass White

Binding:
Star Wars Fabric, Words, Yellow

Tuesday, September 24, 2013

DIY Project: The Traveling Picnic Quilt in a Tote

I completed my massive picnic blanket earlier this year, and since then we've gotten so much use out of it! We take it to the beach; to picnics; to the park; we bring it camping; and to hangouts in San Diego with my in-laws. It's super crowd friendly too, as you can easily have at least 8 people have picnic on it. We've spent several days in the park, with 4 adults laying on it, plus a crawling baby, with lots of room to spare. It handles anything, it's a total beast!


However, it is also really, really heavy, and very, very large. Even when rolled up and trapped into one of my awesome quilt carry straps, it's quite cumbersome to bring around. It's fine when we're driving, but not really something you can bring on a flight (if you want to bring any other luggage). So, having a couple of trips with some picnic potential coming up this Fall, I thought I should make a smaller, more travel-friendly version for us. This is what I came up with:


For the quilt top, I used a fat quarter bundle I already had in my fabric stash, with a couple solids mixed in to break it up. I wanted a simple, large block, that wouldn't be too time intensive, as this quilt is made to go on the ground. I cut 10" by 10" squares, saved a few as 20" by 10", and ended up with this random barely-even-a-pattern. To be honest, while I loved all the color in this quilt, I didn't LOVE all of the individual prints. I really loved two or tree of them, the rest where kind of meh for me. However, by the end, it came together much better than I anticipated, and I'm quite happy with the resulting quilt.


For the batting, I used my favorite bamboo batting. It is very low loft, and makes thin, soft, quilts perfect for a summer night. As I wanted some more thickness and warmth to this quilt, I decided to try to double the batting. It's something I've wanted to try for a while, but didn't want to pull the trigger on one of the other, bigger quilt projects I'm currently working on. Not without trying it on a smaller project first.


I was very pleased with how it turned out. The resulting quilt is high loft, with a thick and fluffy quality, without being at all heavy. It's perfect! Double bamboo batting is definitely something I'll do again.

For the backing, I used a solid gray cotton, with no adornments, to balance the intense quilt top.


For the binding, I used a store-bought bias cut double binding in a coordinating color. I didn't do my usual fold over of the spare backing, and then add the binding. Instead I cut all the extra material off, folded the binding right over the raw edge (no pinning), and attached the front and back at the same time, using my machine. The final quilt is 70" by 70".


I made a matching tote, using the remnants from the project, to carry the quilt on its travels. The tote is a simple double cotton solid, with a contrast bottom (not visible), and a little bit of appliqué. I made it a little big, so the quilt would be easy to get in and out of the carrier (having recently been camping, the frustration of fitting a too-large tent into a too-small tent bag was fresh in my mind). This also means that any picnic basket spill-over could easily be toted in here as well.


 I have another idea that I'm going to try with this quilt, but that's for another post. 

Monday, July 15, 2013

DIY Project: Watercolor Quote

This is a really easy project, that is fairly quick work, although time needs to be allocated for the materials to dry several times between start to finish, so keep that in mind. If you're in a hurry, carefully use a hairdryer to expedite the drying process.


What You'll Need:
masking fluid
watercolors
water coloring paint brushes
1 thin, cheap paint brush (for the masking fluid)
water color paper
1 frame
pencil


What To Do:
1. Decide on a quote.
2. Using your frame, determine the size of your watercolor, and size your paper accordingly to fit your frame, and/or frame mat.
3. Using your pencil, very lightly trace your quote on your paper. This will be your guide next.
4. Using your guide, and your cheap paint brush, paint your quote on your paper using the masking fluid. Let dry. It will be shiny, yellowish, almost completely translucent, and dry to the touch when it's ready.

Masking fluid, just applied, it looks white and opaque.
When the masking fluid is completely dry, it turns yellow and translucent.

5. When your masking fluid completely dry, start painting over your quote using your water colors. Think of this in layers. Begin with a background, let it dry, and then build depth by adding consecutive layers of watercolors, drying in between each layer, until you've reached your desired result. Paint carefully, or slather it on, drip it, spray it, splatter it, let it mix, blend, or turn it sideways and let the colors run. Finally, paint over your masking fluid with a darker wash, shading your quote.


6. Dry watercolor completely.
7. When paint is fully dry, carefully remove the masking fluid, revealing the crisp white paper underneath.


8. Done! Add your quote to your frame, and it is ready to hang.

Sunday, April 14, 2013

DIY Project: Huge Beach Picnic Quilt

The inspiration for this absolutely enormous, ocean-themed quilt was this gorgeous fabric line, 'Saltwater' from Tula Pink.


These prints makes me think of summer days by the ocean of my childhood, sun bathing, swimming, and hanging out with friends to the sound of lapping waves. I thought it would be perfect for a beach quilt, a massive upgrade from the sun bleached batch towels my friends & I used to lie on while working on our summer tans, during countless sunny days spent by the sea.

10 feet by 10 feet (that's 3x3 meters to my metric using friends) picnic/beach quilt


For the quilt top, I used a large simple block arranged in a descending repeat to showcase the different prints. Although I had a bit of shift sneak in here and there in the quilt top, I still really love how it turned out.


Quilt top

All the prints in the line are some combination of gorgeous coral, but still dynamic enough not to be boring. I love the colors, and the maritime theme as well!

Quilt top pattern, closeup

For the backing, I went with a wide pieced vertical stripe, alternating each of the four main coral prints that I used for the quilt top. Since this quilt is so large, 10 feet by 10 feet, I knew I wouldn't be able to use continuous yardage to cover it anyways. I was debating using a waterproof backing fabric, which I think is brilliant for a picnic blanket, both to keep moisture and stains at bay. However, I remember making my waterproof bikini bags, how the oil cloth lining made them really heavy to work though my machine, and those bags were tiny. Magnify that by the massive size of this quilt, and I was worried it would get too bulky for my little sewing machine to handle. It is really hard to work a large size quilt though my little machine, as it is not a long arm machine. With the heavy batting I'm using, I'm really pushing the limits of my equipment, so I had to decide against it. Bummer.

Quilt backing

Quilt backing, closeup

For the quilting pattern, I did this narrow horizontal line pattern, purposefully keeping my lines a bit wavy and uneven. I was thinking of the ripple pattern of sand stroked by lapping waves or wind. I like how it turned out, and the tight quilting gives that puckered, vintage quilt look, which I just adore.

Quilting pattern, pre-wash

The binding is homemade from solid, white cotton, and I used a new technique to attach it. Usually, I first fold over a "fake binding" made from the overhanging backing fabric, and then I attach a double folded binding on top of it. Initially I did this just for the added durability on baby quilts, as I know they get washed a lot. I actually really like the look of the two bindings, the bottom one peeking out under the top, so I stuck with it. This technique makes it easier to apply the top binding as well, compared to cutting off the backing fabric and attaching the binding directly on the raw edge. I don't even use pins when I do the binding this way!

Quilt label and binding, via my Instagram

However, as I mentioned, this time I used a new method that I saw on Pinterest. For this method I used a single folded homemade binding, and attached it on the backside first, and then folded it over the raw edge and topstitch it to the front (although I think most people hand stitch it to the front). Honestly, I hate this method. It looks ok, but it was A LOT harder than my own technique. The corners, in particular, were a real bitch, and it made me realize why a lot of quilters hand stitch their binding even on machine quilted projects. This method seemed better made for hand stitching. I will not be doing it this way again. No, thankyouverymuch. I'll stick to my own method in the future, but I'm glad I tried it.

As this quilt is meant for picnics and trips to the beach, I used a very heavy cotton batting, not the light, airy bamboo batting I normally use. Hopefully it's thick enough to be comfortable on uneven ground, and help prevent moisture from lawns, beaches and docks from seeping through the quilt. Since this quilt is so huge, it is also HEAVY, I made one of my custom Quilt Carry Strap for it. The quilt strap is of my own design, and makes this quilt easily portable, in spite of its size and weight, without permanently attaching any straps, handles, or hardware to the actual quilt. Of course, I also matched the padded handle to the quilt, using leftover scraps from the top.


Making this quilt has been a long process that begun back in January. Twice I had to put it on hold while piecing the top, until more supplies arrived. Although I went in to this knowing it was the biggest quilt I'd ever attempted, I underestimated the huge amount of materials necessary, not to mention the work. The quilting, even with this very simple horizontal line, alone took several weeks! The quilt was so heavy to wrangle through my machine, I couldn't do it in one stretch, as I usually do. The entire quilt, from start to finish, took 3 months to complete, although, I did not work on it every day. Condensed into a continuos stretch of 12-hour days, it would be closer to 3 weeks.


Fabric:

Quilt top:
1 1/2 yards Tula Pink, Saltwater, Bubble Shells, Coral
1 1/2 yards Tula Pink, Saltwater, Submarines and Seaweed, Coral
1 1/2 yards Tula Pink, Saltwater, Tortoise Shell, Coral
1 1/2 yards Tula Pink, Saltwater, Octo Garden, Coral
1 1/2 yards Tula Pink, Saltwater, Floaters and Sinkers, Coral
1 1/2 yards Tula Pink, Saltwater, Sea Debris, Coral
1 1/2 yards Tula Pink, Saltwater, Ocean Ponies, Coral
1 1/2 yards Tula Pink, Saltwater, Sea Stripes, Coral

Backing:
3 yards Tula Pink, Saltwater, Coral
3 yards Tula Pink, Bubble Shells, Coral
3 yards Tula Pink, Octo Garden, Coral
3 yard Floaters and Sinkers, Coral

Binding:
solid cotton, white

Monday, April 1, 2013

DIY Project: Friendiversary Quilt

Meet Jo, the lovely lady who has been by my sidekick for most of my life. This year, Jo & I are celebrating 23 years of friendship! Twenty three years of travels and jokes, hugs, tears, and a multitude of hilarious shenanigans.

Jo & I, from my Instagram

Nowadays, we live half a world apart, we have for the past decade, but she's still my bestie. To celebrate our anniversary, I made her this Friendiversary quilt:

Queen size improve style Friendiversary quilt


This is the first Improv Style quilt that I've ever attempted, and I'll definitely make more quilts in this style! I really loved the improv process, especially the fact that the creative part of the quilting process continues throughout, as opposed to a more traditional style quilt, where you pick a pattern and which prints to use at the beginning, and then follow through. This time I continued to design the quilt, block by block, from start to finish. As the design process is my favorite part (besides pulling the finished quilt out of the dryer, all washed, warm and crinkly), stretching it throughout the piecing and sewing really suited me better. I also really love the resulting look of this quilt.


In fact, this is my favorite quilt I've ever made! Truly, if it was intended for anyone other than Jo, I would not actually give it away. I am currently in the process of making another quilt using the same prints, similar but not identical to this one, to make a matching Friendiversary quilt set.

The above Instagram pic, from a trip to Sweden in August of last year, turned into this photo fabric print:


I hand picked and printed almost all the fabric used in the quilt top using Spoonflower, and its many talented print designers. I also custom made two text prints and one photo panel of my own. I ended up adding a few prints from my scraps stash as well, and the combination of fabrics turned out absolutely perfect!


I quilted each print with a different quilting pattern throughout the quilt, and while I did end up having one or two favorites, I really, REALLY love the variety of textures created by the mix most of all.


The white blocks, with the tight straight lines of quilting were my favorite. The texture of this tight quilting is absolutely amazing. On some of the prints, I quilted according to the print design. A few blocks had very minimal quilting, and other had none besides the perimeter.


For the backing, I used IKEA's Britten Nummer print, with a few scraps from the quilt top mixed in. I had not planned on piecing the backing, other than joining two lengths of yardage to cover the entire back. However, when I got home from IKEA I realized they had falsely sold me 10 yard of  "continuous yardage", with several HUGE and extremely UGLY seams running straight through, leaving me no pieces large enough, so I had to rethink my plan. Eventually, I ended up adding a few bits and pieces, and I am happy with the result. While I didn't get a great photo of the completed backing, you can get an idea of what it looks like here;


I made the binding using left over BRITTEN NUMMER print, and after covering the raw edge with overhang from the backing, I added it on top.


The one downside I found with this improv style quilting, is that it was a lot more time consuming than traditional quilting. Of course, I added extra work time the sheer size of this quilt, and by quilting each block differently, but even without that, this quilt took the longest to complete compared to all of my previous work of comparable size. Just cutting and arranging the quilt top took 4 days, assembly took 2, and quilting took a full week. Binding was about the same as a traditional quilt of the same size, but then I had to cut threads, front and back, for a few days. Lastly, I added one of my labels, and after 2.5 weeks of 10 hours/day at my sewing machine, this gorgeous quilt was finally completed!


Fabric Used:

Quilt top, organized by source:


Spoonflower, $18/yard:
watercolor mustache in aqua, by Katarina
Arrows & feathers, by Katarina
arrows by, katarina
watercolor dots purple, by katarina
arrows pink, by katarina
arrows_in_black_and_white_pattern, by katarina
long tiny striped feathers, by katarina
doilies on linen, by katarina
watercolor chevron aqua white, by katarina
love letter, by katarina
crazy dots gray, by katarina
chevron_arrows, by katarina
Letters, by Ankepanke
hearts and dots in a wavy stripe, by tb0969
I LOVE YOUR TYPE, by bzbdesigner
small_type-2, by bxbdesigner
Say What? (Quirky idioms typed text), by happysewlucky
Madame Fancypantaloons' Instant LIbrary Bindings ~ Blue, by peacoquettedesigns
Fancy Lattice Pink with White Outline, by karmie
Woodtype Alphabet (chalk), by penny candy

Other, approx. $10/yard:
white solid cotton
offwhite solid cotton
Michael Miller Cotton Couture, various solids
various prints from my scrap bin

Backing:
Britten Nummer print, IKEA, $4.99/yard
various leftovers from quilt top

Binding:
Britten Nummer print, IKEA, $4.99/yard

Monday, February 11, 2013

DIY Project: Pet Pod Blanket

My dog likes to get covered up in his bed, preferably so only the tip of his snout peaks out. I designed and made him this "pod blanket", to help reduce his frequent blanket frustration, when he just can't get his bedding organized properly by himself. We frequently "tuck him in", but I was hoping this little burrowing blanket would help him get comfortable when we're not around to help him.

Still having some doubts about this strange blanket.

This blanket consists of a quilted blanket pouch, or pod, in a mix of cotton, batting and minky fabric, it is quilted, with a funnel at the opening, that stays open, to help keep the pod easily accessible. It fits perfectly in my dog's beloved donut bed.

Finally enjoying his little burrowing pod blanket.

I made this blanket yesterday morning, and while it didn't take very long, it actually proved too much for my little sewing machine, and right as I finished the project, it broke. I'm glad I got to complete the project before my machine quit on me, but I have several other projects in the works, that now need to wait until it is fixed to be completed. To add insult to injury, when I first showed my dog his brand new, awesome, sewing-machine-breaking blanket, he hated it. Literary wanted nothing to to do with it. 

Eventually, after trying this suspected torture device for a little while, he seemed to grow to like it. Then the cats discovered it as well, and suddenly we were dealing with Pet War 1 for the rights to the pod blanket. 

 The more the merrier!

While it's really hilarious to see them bicker about who gets to use it, I'm just glad that it actually is getting some use. Initially, when it was hated by everyone, I was afraid it would end up collecting dust in some closet. 

My cat LOVES the pod blanket!!!

Thursday, February 7, 2013

DIY Project: Bunting Garland Photo Prop

I made these bunting garlands to use as photo props for an upcoming photo shoot with my baby niece, but of course, it could just as well be used as decor for a nursery, as a party prop, or whatever else that could benefit from the addition of a charming little banner.


This is a very simple project, similar to my Retail Knockoff version of Kata Golda's Winter Holiday Banner, but this time in cotton fabric instead of Felt. I made a few different versions.

DIY Project: Bunting Garland Photo Prop

For one banner, personalization optional.

What you need:

Cotton fabric in coordinating colors for 15 bunting flags
3 yards twill tape, binding, twine, or ribbon

optional: contrasting fabric for letters

What to do:

1. Cut 15-ish bunting flags of desired shape and size.

from my project sketch  

2. Serge or zig-zag around the raw edges of each flag, to prevent unraveling, or leave them raw, depending on the look you want. Alternatively, cut twice as many flag as needed, and place them in pairs, right side facing, and sew around the hanging sides (not the one that will be attached to the twill tape), then turn right side out and press.

3. Optional: spell a name or greeting by cutting letters of contrasting fabric and sew onto banners. If spelling several words on one banner, leave blank banner as divider between words. IF using a two layer method, add letters BEFORE pairing to hide the seams.

Two double cloth banners, one with closed seams, one with edges left raw.

4. IF using twill tape, space your flags onto your twill tape, either by overlapping, edge to edge, or spaced a couple of inches apart. Fold pennants over the top of the twill tape and sew across to secure.
IF using biascut binding (which is great for banners), just stick your flags inside the fold at desired distance apart, and sew across to secure. Remember to leave approximately 10 inches spare length of tape at each side of the flags for hanging.

Bias-cut binding is perfect for bunting garlands! Stick the flags inside, and secure across the top.

5. Your banner is done!

3 different size & shape bunting garlands, to be used as a photo backdrop.

Saturday, February 2, 2013

DIY Project: Canvas Beach Bag

This is my second try to make one of these beach bags. I made my first attempt with too light weight canvas, so I reworked it into a Reusable Shopping Bag instead. This time, I used a heavier weight canvas, and the resulting bag is more in line with the vision in my head. I used this fabulous tutorial from Elle Apparel as the base for both bags, but altered the method and design a little, to add french seams and a lining.

Absolutely enormous Canvas Beach Bag, here it contains a large size pillow, 
2 huge bath towels, a large water bottle, sun scream and sun glasses in a case, with LOTS of room to spare.

Along with the lining, I also added a large pocket on the back of the bag, and a couple of pockets inside, including a zip pocket in the inside lining. I wanted to be able to keep important little tidbits, such as keys, lip balm, reading material, and cell phone organized, particularly with a bag as huge as this one.

Octopus print lining, zip pocket, and label.

I also attached a key fob (it really sucks to lose your car key in the sand at the beach). The slide pockets are perfect for my phone, and they even fit a Kindle touch!

I love, love, LOVE this lining fabric print! 

The outside is heavy weigh canvas in a wide navy and white nautical stripe. While it won't quite stand up on it's own empty, it does have some structure, and won't topple over that easily when full. For the lining, I got this gorgeous octopus print, that I just love. The combo is perfect! I used French seams throughout the bag, for a neat, durable finish. The large outside pocket was another great addition. I had magazines in mind when I added it, but so far, both time I've used my new bag, that pocket has held my dog's leash and potty bags.

Nautical stripe, external magazine pocket, label, and shoulder strap.

I had planned to do full wrap-around straps, like the ones I did on the shopping bag, but I didn't have enough cotton webbing left. So, instead I attached them on the outside of the bag, and added triangular patches on top, to hide the seams and the raw edge. It wasn't planned, but I really like how it turned out.


This bag is absolutely ENORMOUS! It fits a large beach quilt (although with my new Quilt Carry Strap, I don't need a bag to carry my beach quilt anymore. I used a large pillow instead for the pictures), plus two large bath towels, baby powder (THE BEST for removing sand from skin), sunglasses, sun scream, and e-reader, plus a bottle of water. With lots of room to spare! It keeps my keys and phone secure in designated locations, plus a zippered pocket for my wallet and other little bits and pieces. The straps are comfortable to carry on the shoulder as well. While it's not perfect just yet, it's still really awesome, and I am very happy with my new beach bag!!!

Canvas Beach Bag

Although it's not even February yet, I'm already dreaming of summer, if for no other reason, just so I can use this bag. But summer is months away and I don't know if I have the patience to wait until then. I might just need to schedule a sunny weekend somewhere warm, so I can use it sooner! In the meantime, I'll be making more of these.

Thanks Leanne, for a great tutorial!
I hope you like my additions! 

Materials:

1 yard heavy cotton canvas
1 yard cotton lining fabric
3/4 yard 1 1/2" wide cotton webbing
1 zipper, color coordinated
1 snap hook or split ring